Thursday, April 28, 2011

Country Bumpkin

I have always been a country girl more than a city one.  A few thousand acres to myself out in the middle of our beautiful state would surely make me happy...though i might need a few modern conveniences on my compound.  A few days ago it really hit me that we live in the country.  Abbie and I got really excited about entering jams, jellies, breads and cakes into the Evergreen State Fair this September.  Really?  Who still does that?  I thought it was sweet little grandma types that enter little jars of jam covered sweetly with squares of gingham and tied with a bright red ribbon.  Nope...that's us too (well, minus the gingham and ribbon).  Abbie and I love to can.  We have the best time, laughing, making a mess, testing new recipes.  I look forward to it every year.  Blueberry season is probably our favorite.  There's just something peaceful about going to the fields and picking fresh berries then bringing them home to bake and can with.  Last year a rogue flock of blackbirds decimated the entire blueberry crop in the northwest.  We literally didn't get not one berry.  The year before, we could have picked hundreds of pounds.  Crossing our fingers this year that we are able to get some blueberries might not be enough...i think we might have to sit vigil at the farm with some sort of shotgun or maybe a big bird happy dog, to protect the tender little berries from being gobbled down by those dirty rotten birds. 

Reading through the rules and regs for the fair entries we discovered that we can actually enter 96 different items.  Hmmm...the wheels are turning!

Wednesday, April 20, 2011

Confessions of a cookie cutter addict.

I have to admit to something.  Something only my closest friends know.  I'm a closet cookie cutter collector.  Seriously, it's an issue!  No REALLY!  I have hundreds and hundreds.  I used to surf eBay late at night for some special little cutter that i just had to have.   It's a sickness.  Whats worse is that I've probably only used a fraction of them.  This past week my son and i had the stomach flu.  After taking an entire week off from everything in my life, i finally felt up to baking something.  Easter sugar cookies seemed fitting.  So, i rolled and i baked and i frosted.  But most importantly i pulled out a cutter that i have never used.  It's a coveted copper cutter...i don't use them, i don't touch them, i JUST look at them.  They are too pretty to use.  OK, don't laugh, this was my first attempt at a Lamb.  No, it's not a poodle or a goat (that's what my kids thought).  Alright fine, you can laugh...i did :)

Wednesday, April 6, 2011

French Bread

My friend Abbie always picks up the best cookbooks and magazines.  The other day while at Costco she picked up Volume 4 of Homemade Bread.  Needless to say, she didn't make it home with the magazine...i pilfered it.  My son was having a friend over for a sleepover and what can you make that ALL kids will like?  Spaghetti.  Wanting bread, but not wanting to drag 3 kids to the store, i opted for homemade.  The family + guest were sure glad i did!  After trying this recipe, and seeing just how easy it is to make beautiful french bread at home, I'll not buy store bought again.

This was really an easy foolproof recipe.  I accidentally added the yeast to the entire qty of water 2 cups, instead of just 1/4 cup like it calls for and it still came out beautifully. 


I couldn't live in the kitchen without my Kitchen Aid.   Mixing the dough in the machine was easy and clean up was a breeze in the dishwasher...always a good thing. 


After adding most of the flour, the dough was starting to pull away from the beater blade.  Time to switch to a dough hook.


Continue adding flour by the spoonful until the dough is stiff and no longer sticky.


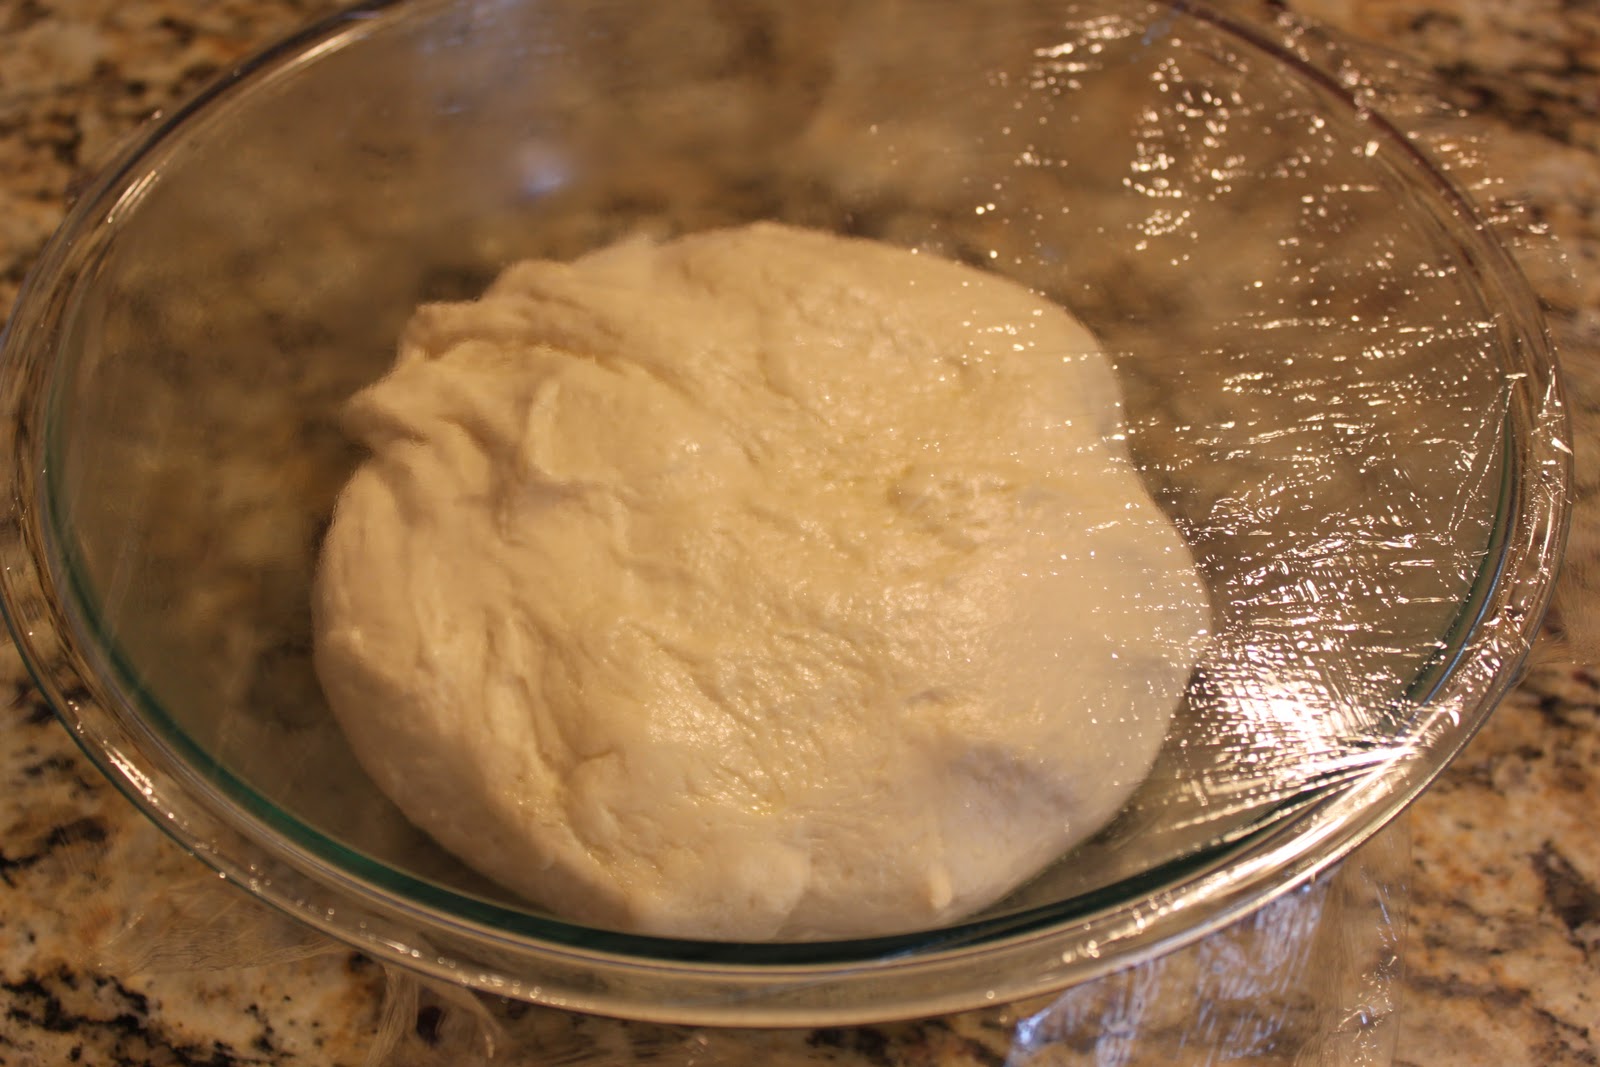
I love the feel of the dough.  Silky soft and it doesn't stick to your hands or the mixer.  Transfer the dough to a bowl and let rise for about 1 hour.  This process can really vary in time due to the warmth of your kitchen.  I left mine right on the counter while i was cooking the spaghetti.  It was toasty warm. 


Use a sharp knife to divide the dough in two.  Shape and form loaves.  Stretching the dough and turning it under will create a nice smooth surface on the dough.  Remember, that any bumps, ridges or marks in the dough will not really bake out.


I forgot to take a pic of me cutting the tops of the loaves.  You will need a sharp serrated knife to cut the tops allowing for expansion.  Brushing the tops and sides of the bread with an egg white will create a golden-brown somewhat shiny crust. 


We couldn't even wait for it to cool down.  I endured the burning of my fingers to slice the hot loaf.  Mmmm...melted butter and fresh bread.  Could it get any better?


So very easy, really!

French Bread
Recipe source:  Homemade Bread (from the editors of Hobby Farm Home Magazine)

2 cups warm water (105 - 115 degrees)
2 packages yeast (4 1/2 tsp)
1 1/2 tsp. salt
1 Tbsp. sugar
5 3/4 to 6 cups flour
1 egg white, lightly beaten (for the tops of loaves)
cornmeal for dusting

1.  Combine 1/2 cup water, yeast and a pinch of sugar in a small bowl.  Stir to dissolve yeast, and let the mixture sit for 10 mins or until foamy

2.  In a large bowl (or in the work bowl of an electric stand mixer), combine the remaining warm water, salt and sugar.  Add the yeast mixture, and stir until combined.  Add 2 cups of the flour, and mix well.  continue to beat the mixture for one or two minutes until smooth and creamy.  Add additional flour in 1/2 cup increments, stirring well after each addition, until the dough becomes stiff and starts to pull away from the sides of the bowl. 

3.  Turn out the dough onto a generously floured work surface, or switch from the paddle attachment to the dough hook attachment in your stand mixer.  Knead in the remaining flour, adding a few tablespoons at a time, until the dough is stiff and no longer sticks to your hands.  If kneading by hand, the process will take about six minutes.  if using your stand mixer and dough hook, attachment, it will take about four minutes.

4.  Lightly grease a large bowl or other container with a small amount of oil.  Place the dough in the bowl and turn the dough over to coat the surface with oil.  cover the bowl lightly with a layer of plastic wrap.  Let the dough rise at room temperature until doubled - about 45 minutes to one hour. 

5.  Divide the dough in half.  To shape each loaf, press or roll each portion into a rectangle.  Make the rectangles as long as you would like your loaves to be for baguettes.  Tightly roll up each rectangle from the long edge, and pinch the seam to seal. 

6. Lightly dust a baking sheet with cornmeal.  Place the loaves seam-side down on a baking sheet with at least 3 inches between them.  Lightly cover with plastic wrap, and let rise until doubled - about 20 minutes.  Preheat your oven to 375 degrees while the loaves rise. 

7.  Just before baking, brush the tops and sides of the loaves with the beaten egg white.  using a sharp serrated knife, make three diagonal slashes 1/4 to 1/2 inch deep in the top of each loaf.  Bake for 35 - 40 minutes or until the loaves are deep golden-brown and sound hollow when tapped.  Allow the loaves to cool, and serve warm or at room temperature. 

Nanaimo Bars

One of the best bars i have ever made...right here.  Crispy dark chocolaty bottom.  Vanilla creamy dreamy middle and a fudgy, coconuty top.  These bars were easy to make but they took a little time due to chilling the layers.  This is one of those bars that most people would have everything in the pantry...a good go to bar for those days when you have a hankerin' for something chocolaty sweet. 
I doubled the recipe and used a 13x22in. pan, because my sweet tooth was bigger than the 9x9 inch pan called for in the recipe...and it worked out just fine. Note how fine the graham cracker crumbs are.  I put them in my Vitamix blender, but you could crush them in a Ziploc with a rolling pin and get some aggressions out or give'm a whirl in your food processor.  Mine was the texture of sand.

The bottom layer was my favorite part of this bar.  I loved that it was crunchy, chewy and very chocolaty at the same time.  I'll go into my serious loyalty to one cocoa powder in a later post...but i suggest you use the deepest darkest cocoa you can find.  Mine came out almost Oreo dark...and in my book, that's pretty dang good.  Cooking the butter (doesnt have to be room temp), sugar, cocoa powder and egg was not scary at all.  You do need to be very careful not to put the egg in too quick or you will have chocolate flavored scrambled eggs.  Pour them in at a very very slow stream while whisking the mixture.  Yours should come out something like mine below.  YUM


Mix the graham and the coconut into the chocolate.  Ditch the spoon and use your hands if it gets too tough. 

OK, I'm still learning to do this blogging thing, so you will have to forgive the lack of photos.  The next step was to press the chocolate mixture into the prepared pan and refrigerate.

While the bottom layer is chilling, work on the filling.  It's basically a buttercream frosting with added vanilla pudding. 
Dang it, i just realized i didn't double the ingredients in the picture...but trust me, i did in the recipe.  Powdered sugar, room temp butter, vanilla pudding powder (instant), vanilla and heavy cream or whole milk.
Mix all the ingredients together scraping the bowl as needed.  Once you get it all incorporated, my one trick is to let the mixer run for a good 7 or so minutes.  You will find that your buttercream will actually thin out a little and fluff up. 
Spread the buttercream onto the crust and refrigerate again.
Now, i have to admit that i cheated with the next step.  Owning a bakery, i have a wonderful deep chocolate fudge frosting that i just love.  It's so versatile.  It's actually the same fudge found on a certain mega tall cake at a local restaurant.  So i poured the fudge on top and added coconut for that little somethin'.
Try this bar and feel free to play with added ingredients.  It would be great to add pecans, or flavorings, maybe some chopped up cookies on top.  Enjoy!
 

Tuesday, March 15, 2011

Sticky Toffee Pudding

It's raining.  Again.  But that's ok because i LOVE the rain here in Seattle.  Something about it is just cozy.  Just like this recipe.  It's cozy.  You need a fire in the fireplace, some yummy candles burning and the 80's music channel on...ok well maybe not that last one since Sacred Emotion by Donny Osmond has been stuck in my head all afternoon now (as well as my friend Anne's).  Well, nonetheless  you need to try this recipe.  It's well worth the gooey sticky hands and knife you'll have to endure. 

Your going to need approx. 20 dates for this recipe.  Give or take a few depending on their size.  Mine were pretty big.  The recipe calls for 2 cups chopped pitted dates. Now, save yourself some time and learn from my mistake.  Don't put them in a food processor or Vitamix like i tried.  It will turn to a sticky goo. (which will still work, but you wont like the mess...trust me).  Just start by cutting one date at a time into strips and then dicing them from there.  It's just easier.

Dates are very sticky so i did not pack them into the measuring cup, that's why it's a little mounded.

The recipe calls for you to cook the dates with water and baking soda.  It reminded me of a science experiment how it foamed up.  Don't be scared.  It'll be ok.  Just follow the directions and it will all work out. 
As you can see i used a muffin pan this time for this recipe.  I wont do it again.  I think that having the raw cut edges of a cake is nicer with this one.  Also, the original recipe called for the pan to be buttered, i wont do that again either.  I experimented and buttered 6 in this pan and sprayed the other six with Pam.  The buttered ones stuck where the Pam ones did not.  Stick with the spray. 
Ok, so the other change i have tried, which is beautiful either way, is the addition of a liquor for the sauce.  I have made it without and it turned out wonderful.  Today i used Grand Mariner.  Yum.
Anne and I have been working really hard at the gym so we split one.  You wont want to.  It's too good to share.  Seriously, one of the best deserts I've ever had.  This is not a cake or a brownie, this is a more sophisticated desert.

Sticky Toffee Pudding
Recipe Adapted from: Everyday Food

6 tablespoons unsalted butter, room temperature
2 cups chopped pitted dates (8 ounces)
1 teaspoon baking soda
1 1/3 cups all-purpose flour (spooned and leveled)
1 teaspoon baking powder
1/2 teaspoon ground allspice
1/2 teaspoon coarse salt ( i just used plain table salt, I'm not fancy)
3/4 cup packed light-brown sugar
2 large eggs
1 teaspoon pure vanilla extract


Preheat oven to 350 degrees. Spray an 8-inch square baking pan with Pam or similar.

In a small saucepan, combine dates and 1 cup water; bring to a boil over medium-high. Add baking soda and stir until dates begin to break down and mixture thickens slightly, 1 to 2 minutes. Set aside.

In a medium bowl, whisk together flour, baking powder, allspice, and salt.

In a large bowl, using an electric mixer, beat butter and sugar on medium until light and fluffy, 3 to 5 minutes. Add eggs and vanilla; beat until combined (mixture may look curdled). Scrape down bowl.

With mixer on low, beat in flour mixture in three additions, alternating with date mixture and beginning and ending with flour mixture. Increase speed to medium and beat to combine.

Pour batter into prepared pan and bake until a skewer inserted in center comes out with only a few moist crumbs attached, about 45 minutes. Meanwhile, make Toffee Sauce.

Set baking pan on a wire rack and poke holes all over top of cake with skewer. Pour 1/2 cup Toffee Sauce over cake; let stand 10 minutes. (To store, cover and keep at room temperature, up to 3 days.) Cut cake into squares and serve warm with remaining sauce.


Thursday, February 10, 2011

About Goodies Bake Shop

Welcome to the Goodies Bake Shop blog.  Goodies was my wholesale bakery specializing in cupcakes and brownies.  My name is April, owner and baker.  Well, and stay at home mom of 3 boys.  After running a wholesale bakery i found that i lost my love of baking and i wanted it back!  So, i closed the doors (which Alvin, Simon and Theo were very happy about) and i opened an online store and blog.  I hope to try lots of new recipes, meet lots of new friends and just have fun again! ....please join me :)